Why You MUST Scale Back The Dye After Lamination
Share
Why You Need to Adjust Your Brow Dye After Lamination (And What Happens If You Don’t)
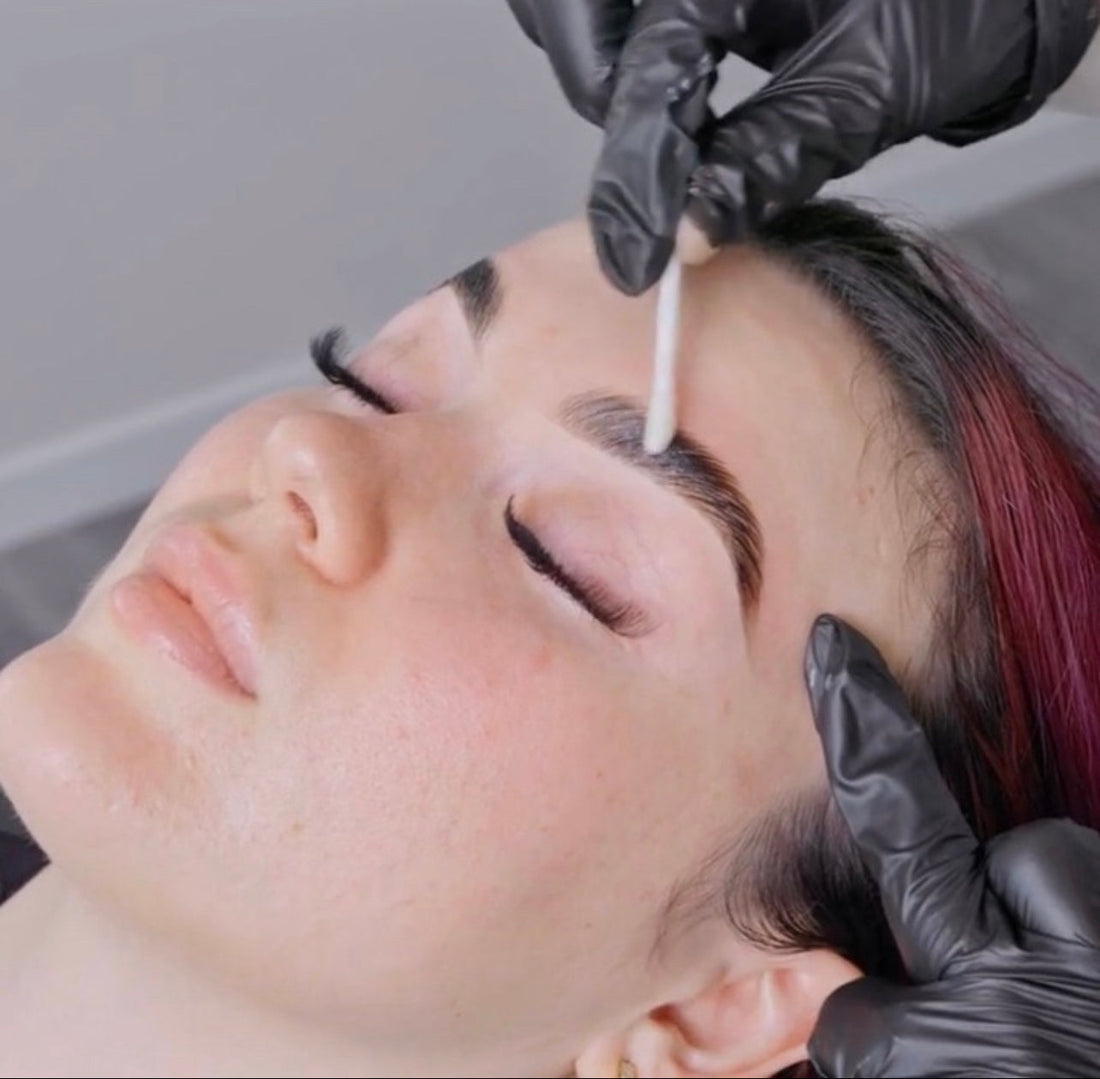
If you’re dyeing brows the same way after a lamination as you do on untouched brows—stop right there. Laminated brow hairs act like thirsty sponges, absorbing dye differently and more intensely. Here’s why you need to scale the dye shade back by 1–2 levels after lamination, and what could happen if you don’t.
What Lamination Does to the Brow Hair
Brow lamination involves applying a chemical solution that breaks down the bonds within the hair shaft. This process allows the hairs to be restructured into a new shape, creating that coveted lifted, fuller look. While the results are stunning, there’s a temporary side effect: the hair’s cuticle layer becomes raised and weakened, leaving the hair extremely porous.
Why Porosity Means Faster, More Intense Colour
When the cuticle is raised (as it is after lamination), dye molecules penetrate more deeply and quickly into the hair’s cortex. This causes:
- Darker-than-expected results, even if you use your usual dye formula
- Quicker processing times, sometimes in under 1–2 minutes
- Uneven or patchy colour if the dye isn’t applied consistently or removed promptly
How to Prevent Over-Processing and Preserve Your Lamination
To avoid ruining your lamination with an overly harsh or dark dye, follow these essential tips:
-
Scale the Shade Back 1–2 Levels
Choose a lighter dye shade than you normally would. You can always add depth later if needed, but you can’t undo over-darkening once it happens. -
Reduce Processing Time
Start checking the colour after just 60–90 seconds. Some hair types may not need more than that post-lamination. -
Use Cream-Based or Hybrid Dyes
These tend to be gentler and offer more control than liquid tints. They process more slowly and predictably—perfect for laminated brows. -
Apply to Dry, Cool Skin
Make sure the brows and surrounding skin are dry and cool before applying dye. Warmth from steam or products can speed up processing too much. -
Work Fast and Evenly
Apply the dye quickly and evenly—starting with the sparse areas and blending outwards. This avoids dark patches and ensures uniform colour.
Pro Tip: Laminated Brows Already Look Fuller
Don’t feel pressured to go bold with colour. Lamination naturally enhances brow shape and density, so a subtle tint can still create a striking effect—without the risk of overdoing it.
Remember: Laminated brows are not the same as untreated brows. Their raised cuticles absorb dye faster, deeper, and darker. That’s why it’s crucial to scale back the shade, shorten processing time, and approach tinting with precision.
Want to Master Every Detail of Brow Lamination?
Join our Brow Lamination Masterclass and gain expertise in:
✔️ Advanced lamination techniques
✔️ Customising dye formulas post-treatment
✔️ Brow mapping, styling & shaping for every face
✔️ Aftercare for long-lasting results
✔️ Business-building strategies to grow your client base
Enrol now and become the go-to brow expert in your area. Let’s elevate your skillset — and your confidence — one brow at a time.